Custom Canvas Frames: How to Create a Perfect Fit

Listen to Content
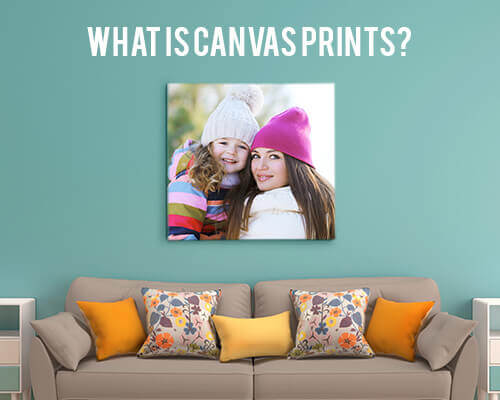
A canvas prints without the right frame is like a photograph without a story: technically complete but missing something essential. The difference between amateur wall art and gallery-worthy presentation often comes down to how well the frame fits the canvas. Custom canvas frames solve this problem by matching exact dimensions, complementing artistic style, and providing protection that standard off-the-shelf options simply cannot deliver.
Creating a perfect fit for your canvas requires understanding measurements, selecting appropriate materials, and executing proper assembly techniques. Whether you're framing a family portrait, an abstract artwork, or a landscape photograph, the process demands attention to detail that pays dividends in visual impact. This guide walks through everything you need to know about custom framing for canvas, from initial measurements to final hanging hardware, ensuring your artwork receives the professional treatment it deserves.
Understanding Your Canvas Dimensions
Accurate measurements form the foundation of any successful custom framing project. A frame that's even a quarter-inch off can result in visible gaps, canvas buckling, or an inability to mount the piece properly.
Measuring for Stretched vs. Unstretched Canvas
Stretched canvas arrives already mounted on wooden stretcher bars, while unstretched canvas comes as a flexible material that requires mounting before framing. For stretched canvas, measure the outer dimensions of the stretcher bars, not the visible image area. Place your measuring tape at the back edge and record width, height, and depth to the nearest sixteenth of an inch.
An unstretched canvas requires different calculations. You'll need to account for the wrap-around material that secures to the stretcher bars, typically adding 2 to 3 inches on each side. CanvasChamp offers both stretched and unstretched options, allowing you to choose based on your framing preferences and skill level.
Accounting for Depth and Profile Thickness
Canvas depth varies significantly based on the stretcher bar profile. Standard profiles range from 0.75 inches to 1.5 inches, while gallery-wrap canvases often measure 1.25 to 2 inches deep. Your frame's interior channel must accommodate this depth with slight clearance for easy insertion.
Measure from the front surface of the canvas to the back of the stretcher bars. Add an eighth-inch clearance to prevent friction during installation. Frames that are too shallow create mounting problems, while excessively deep frames look disproportionate.
The Importance of Precision in Custom Sizing
Professional framers work in fractions of inches because small errors compound quickly. A frame that's slightly too large leaves gaps that collect dust and detract from the presentation. A frame that's too tight can damage canvas edges or make installation impossible.
Use a steel ruler or quality measuring tape rather than cloth tape measures, which stretch over time. Measure twice, record your numbers, and verify before ordering custom frame components.
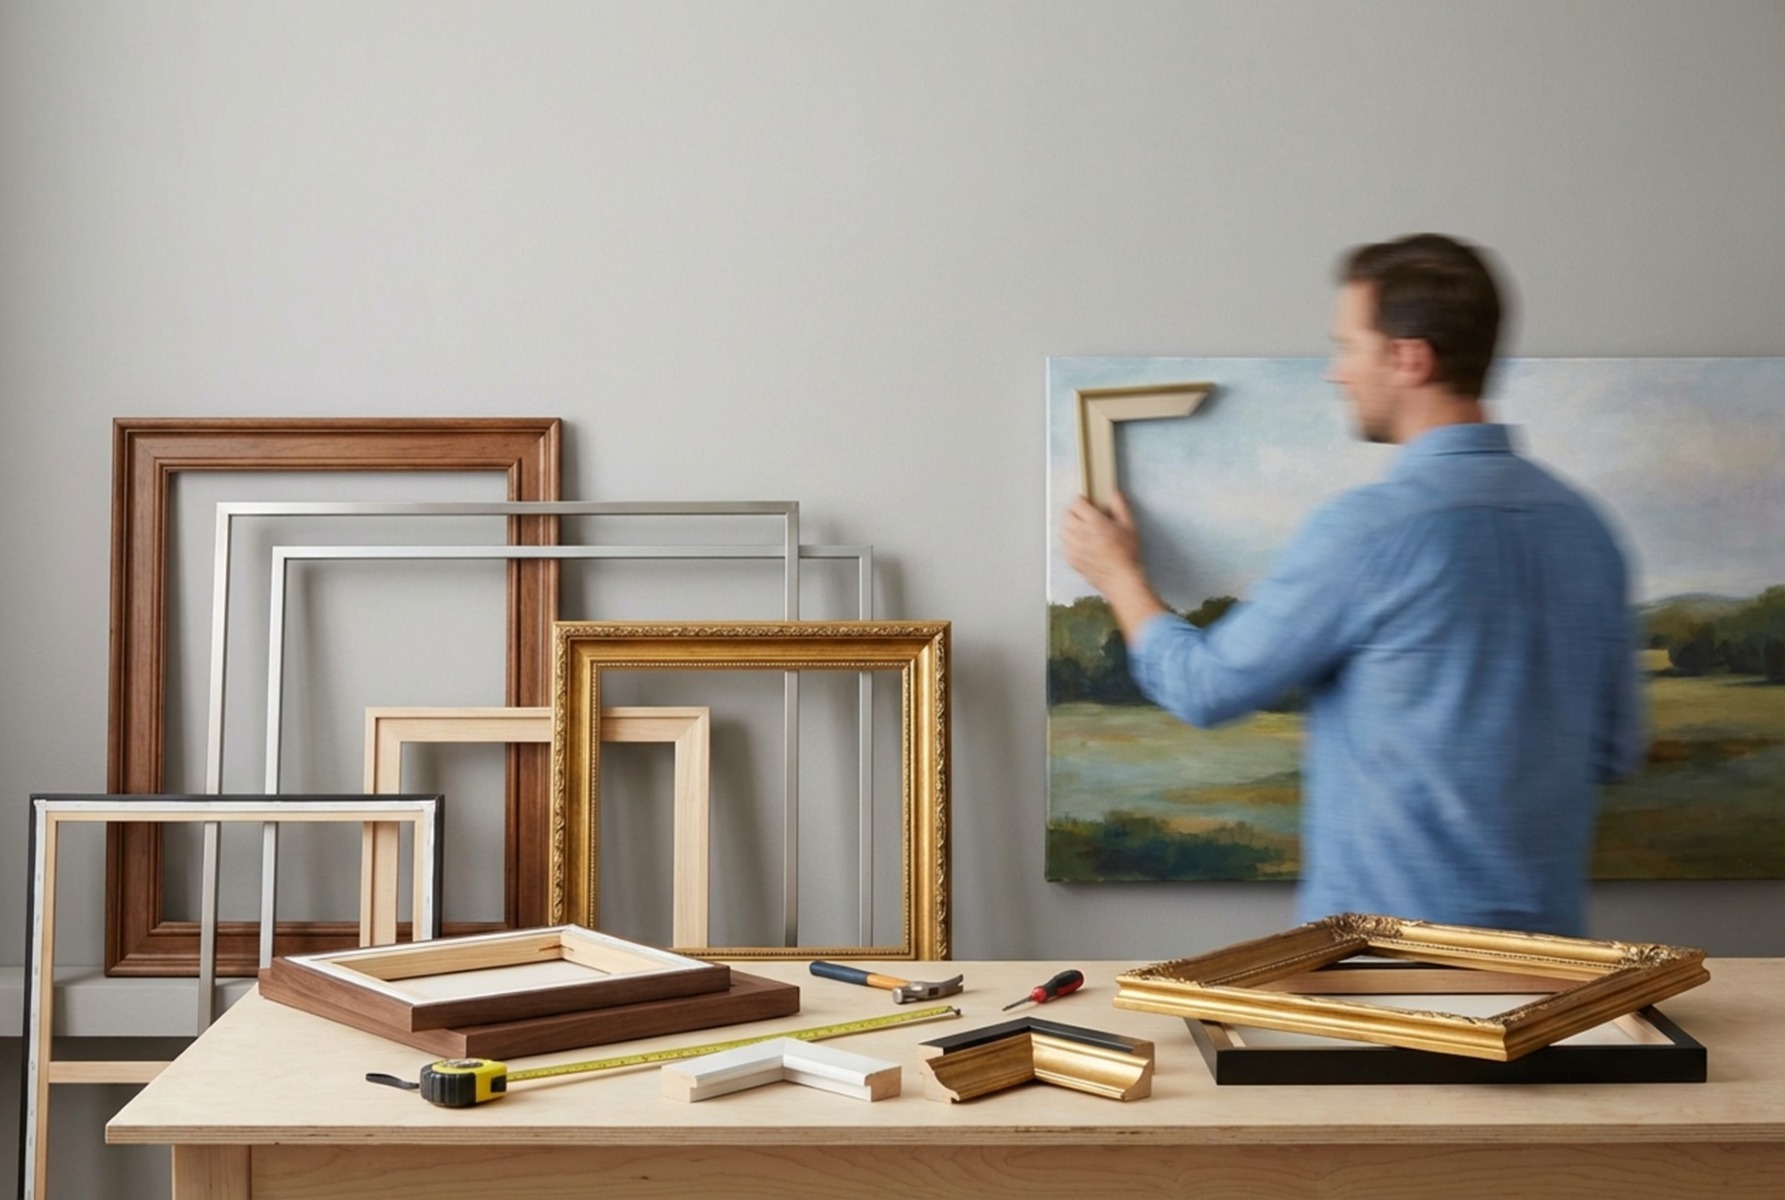
Selecting the Right Frame Style for Your Artwork
Frame selection affects both aesthetics and functionality. The right choice enhances your artwork while providing appropriate protection for its intended environment.
Floating Frames for a Modern Aesthetic
Floating frames create a visual gap between the canvas edge and the frame border, giving artwork a contemporary, gallery-style appearance. This design works particularly well with images that extend to the canvas edges, as it showcases the full artwork without covering any portion.
The floating effect requires precise construction. The canvas sits on internal ledges or clips, suspended within the frame opening. This style suits modern interiors, abstract art, and photographs where edge-to-edge imagery matters.
Traditional Box Frames for Classic Protection
Box frames completely enclose the canvas, with the frame lip overlapping the front edge slightly. This traditional approach provides moderate protection against dust, moisture, and accidental contact. Box frames are suitable for formal settings, portrait photography, and artwork requiring additional preservation.
The overlap typically measures 1/4 to 3/8 inch, slightly reducing the visible image area. Consider this when designing artwork or selecting photographs for framing.
Matching Material and Color to the Art Piece
Frame materials range from solid hardwoods to lightweight aluminum and composite options. Wood frames offer warmth and traditional appeal, while metal frames provide sleek, minimalist aesthetics. The material choice should complement both the artwork and the room where it will hang.
Color selection follows similar principles. Dark frames create dramatic contrast with light-toned artwork, while natural wood tones suit landscapes and nature photography. Black frames work universally, and white frames brighten contemporary spaces. Visit CanvasChamp to explore framing options that match various artistic styles.
Step-by-Step Custom Assembly Process
Proper assembly ensures your frame performs its protective and aesthetic functions for years to come. Take your time with each step; rushing leads to mistakes that compromise the final product.
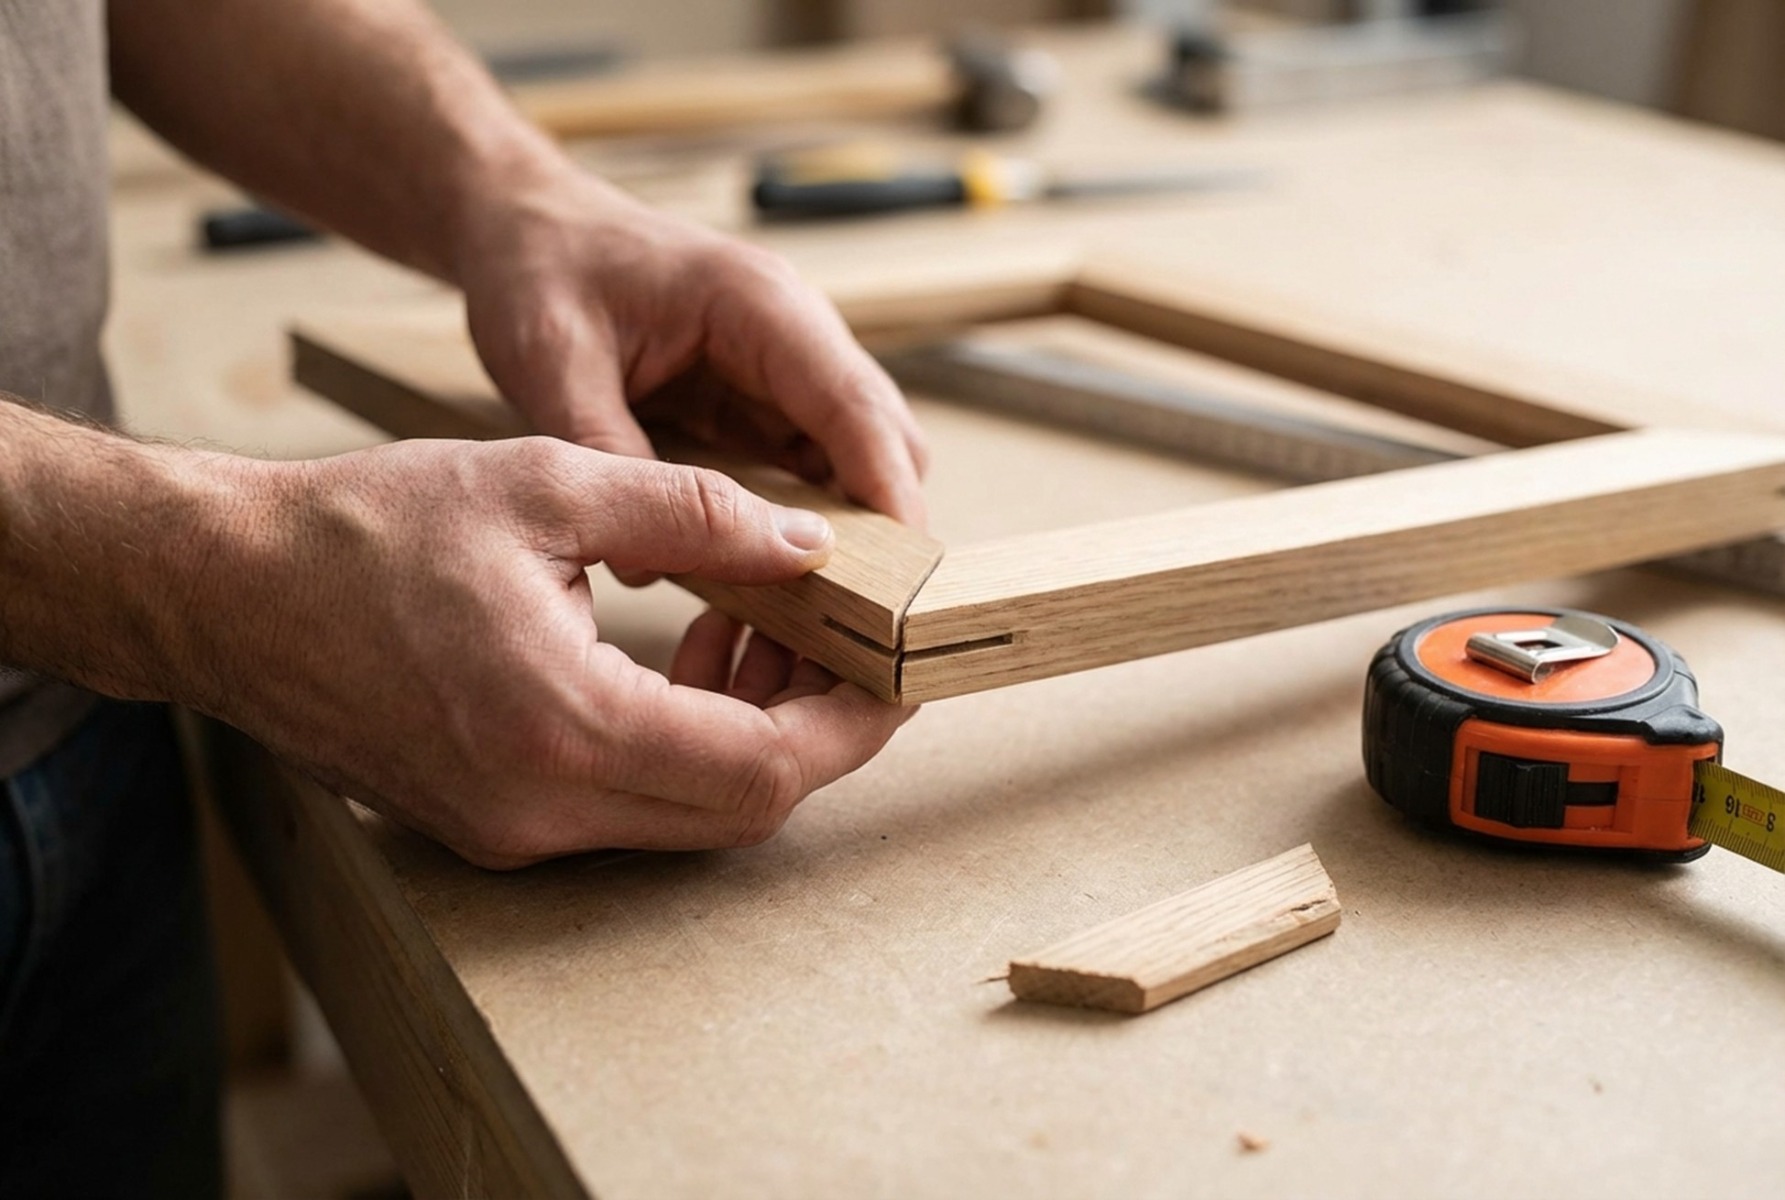
Assembling the Mitered Corners
Mitered corners meet at 45-degree angles, creating clean joints that define professional framing work. Apply wood glue to both mating surfaces, then clamp the pieces together using corner clamps designed for frame assembly. Wipe away excess glue immediately with a damp cloth.
Allow joints to cure for the manufacturer's recommended time, typically at least several hours or as directed by the adhesive manufacturer, for full strength. Reinforce corners with V-nails or corrugated fasteners driven into the back of the joint for additional stability.
Securing the Canvas within the Frame
For floating frames, install offset clips or Z-clips at regular intervals around the interior of the frame. These clips grip the stretcher bar edges and hold the canvas in position with consistent spacing from the frame.
Box frames require different hardware. Spring clips or turn buttons mounted to the frame back press against the stretcher bars, holding the canvas firmly in place. Space fasteners every six to eight inches for secure mounting without excessive hardware.
Adding Tensioners and Finishing Hardware
Canvas tensioners, or keys, insert into the stretcher bar corners and allow you to tighten the canvas if it develops slack over time. Ensure your frame design provides access to these corner slots.
Install hanging hardware appropriate for the frame weight. D-rings with braided wire work well for most canvas frames, while heavy pieces may require French cleats or security hangers. Position the hardware one-third of the way down from the top edge for proper balance.
Common Pitfalls to Avoid in Custom Framing
Learning from common mistakes saves time, money, and frustration. These issues affect both beginners and experienced framers who rush through projects.
Overlooking Thermal Expansion and Contraction
Wood and canvas both respond to changes in humidity and temperature. Frames constructed too tightly can crack at joints or warp as materials expand. A canvas stretched too taut in dry conditions may develop slack when humidity increases.
Build in a slight tolerance in your measurements and avoid hanging framed artwork near heat sources, air vents, or areas with prolonged direct sunlight.
Using Low-Quality Mounting Hardware
Cheap hardware fails at the worst moments. A fallen frame damages artwork, walls, and anything beneath it. Invest in quality D-rings, wire rated for your frame's weight, and wall anchors appropriate for your wall type.
Test hanging hardware before installation by applying a load greater than the frame's weight. Replace any components that show weakness or wear.
Maintaining and Hanging Your Custom Framed Canvas
Dust the framed canvas regularly using a soft, dry microfiber cloth. Avoid cleaning products that could damage the print surface or frame finish. For stubborn dust in frame crevices, use a soft brush or compressed air.
Hang artwork at eye level, approximately 57 to 60 inches from the floor to the center, which matches standard gallery height ranges. Use a level during installation to ensure straight alignment. Check hanging hardware annually and tighten any loose components.
Quality custom framing transforms canvas prints into lasting display pieces that enhance any space. CanvasChamp provides premium canvas prints in various depths and sizes, making custom framing projects straightforward from the start.
Frequently Asked Questions
What tools do I need for custom canvas framing?
Essential tools include a steel ruler, corner clamps, wood glue, a miter saw or pre-cut frame pieces, V-nails or corrugated fasteners, offset clips, D-rings, picture wire, and a level for hanging.
How do I choose between floating and traditional frames?
Floating frames suit modern décor and edge-to-edge artwork. Traditional box frames are better suited to formal settings and to pieces requiring maximum protection from environmental factors.
Can I frame a canvas print myself without professional help?
Absolutely. With accurate measurements, quality materials, and patience during assembly, DIY custom framing produces professional results. Start with smaller pieces to build confidence before tackling larger projects.
How much clearance should I leave between the canvas and frame?
Allow one-eighth inch clearance around the canvas perimeter for floating frames. This gap accommodates slight measurement variations and allows easy insertion without forcing the canvas into position.
Transform your favorite photographs into stunning framed artwork with CanvasChamp's affordable canvas prints, backed by a Lowest Price Guarantee and extensive customization options. Shop now to create gallery-worthy pieces for your home.