Stretching your canvas may seem like a daunting task but in reality, it is quite simple. All you have to do is be neat and follow the instructions below; and within no time you will be stroking your vivid imaginations across the taut canvas on that stretcher.
How Do You Stretch Canvas — Things You Must have
Before you start off with the job, it is important to checklist the essential tools that you will need to stretch your canvas:
- Assembled Stretcher Bars
- Canvas
- Measuring Tape
- Knife
- Staple Gun
For those working on large canvas picture prints, make sure to use reinforced stretcher bars to support the extra weight and maintain the structural integrity of the frame. This ensures that your larger pieces stay taut and don’t sag over time.
Step 1:
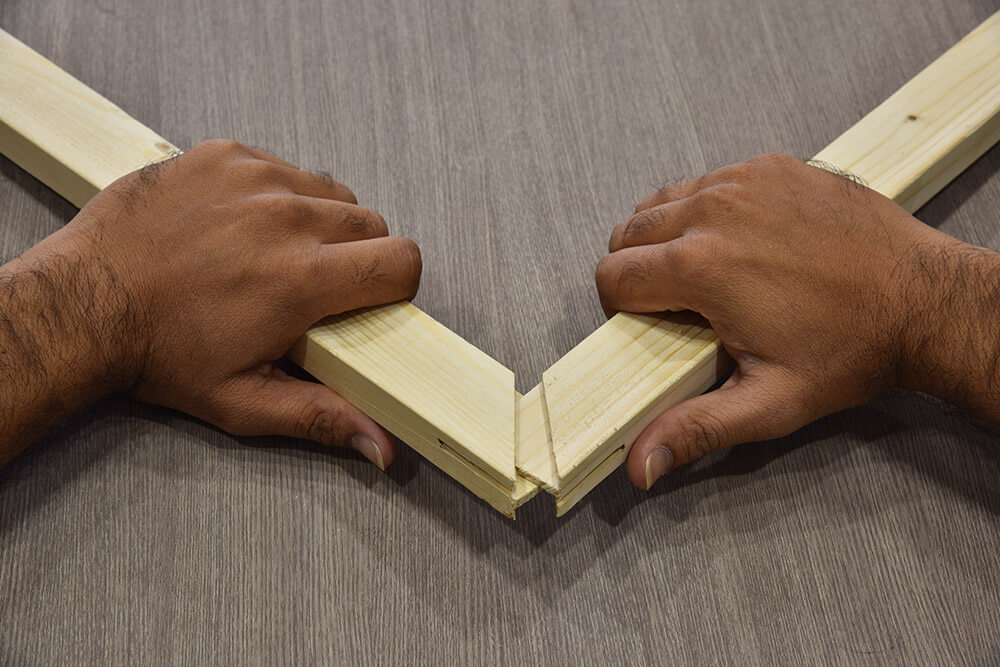
Your first step is making sure that the wooden frame which you have assembled is a perfect rectangle.
How to do that?
Simple math!
Measure the diagonals of your rectangular frame with a measuring tape and they should be equal in length.
Step 2:
The next step is learning how to measure canvas for stretcher bars.
To do this, turn your wooden frame facing downwards onto the piece of a canvas fabric and ensure that the warp and weft of your canvas are at an angle of 90 degrees to your wooden frame.
Once it is done, start cutting off your canvas around the stretcher and leave a margin for folding. The margin will actually depend on the stretcher sections. If the stretcher section is small, the margin should be 2 inches from your stretcher and if it is large, the length of the margin should be 3 inches.
Step 3:
Select the orientation of your wooden frame according to the orientation of your artwork and position your assembled stretcher bar in the center of the canvas. It is worth noting that the canvas and the wooden frame should both be facing downwards.
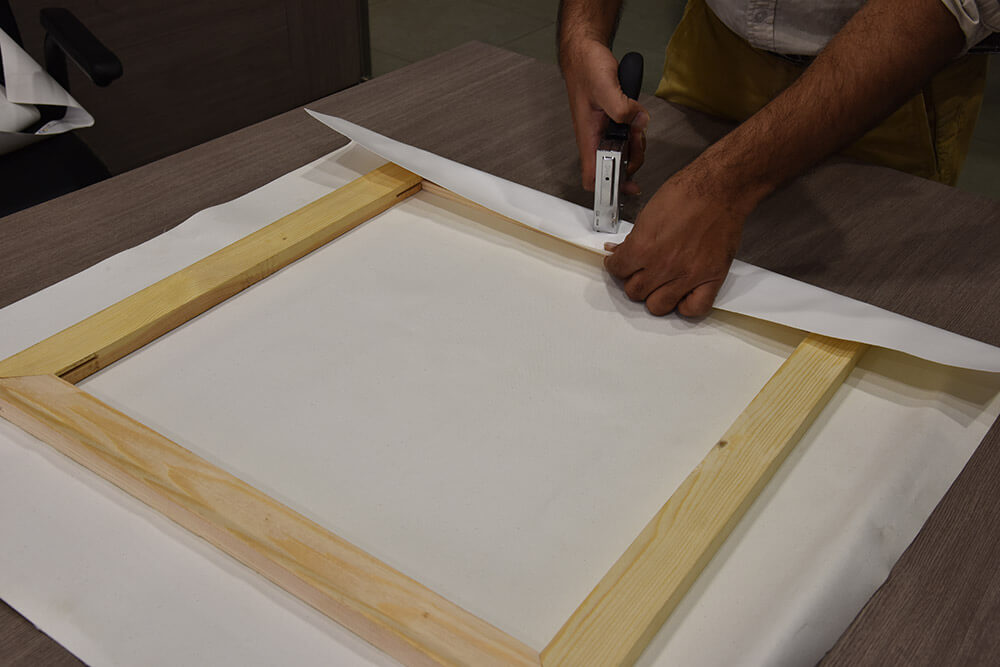
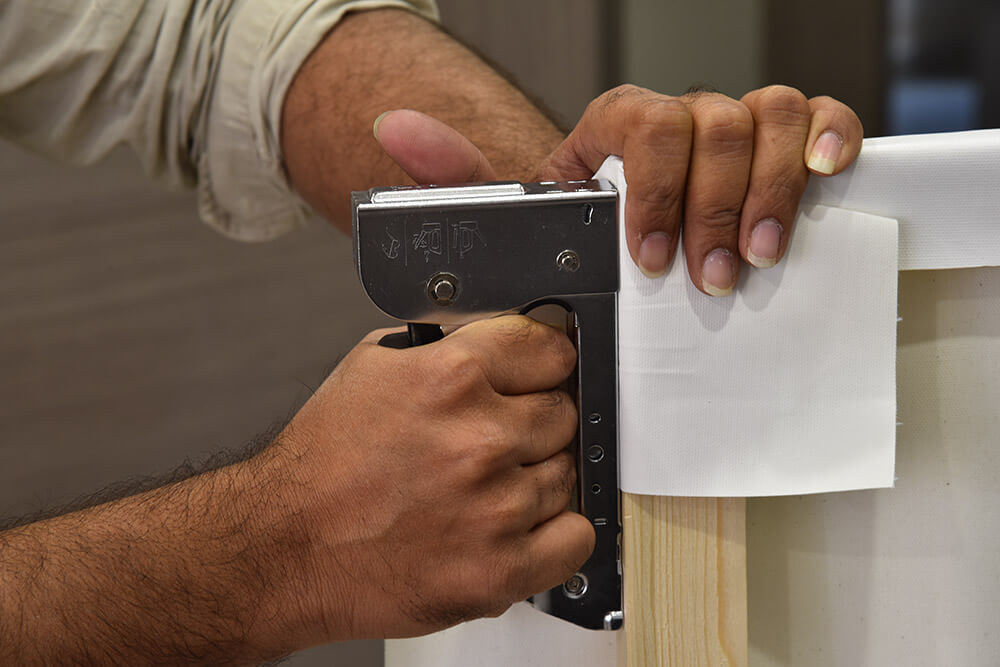
Step 4:
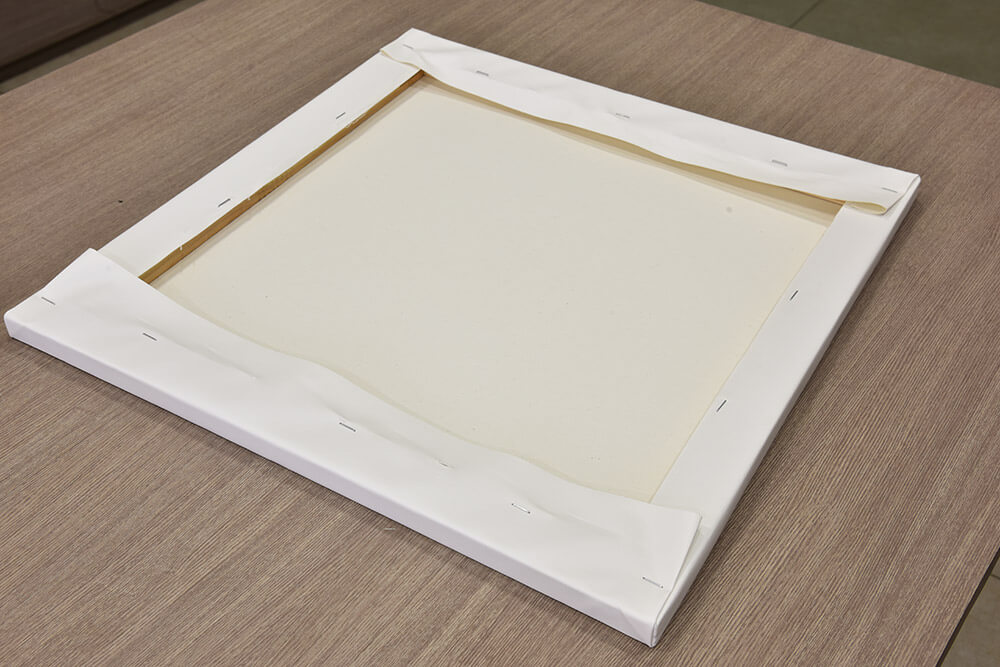
Fold your canvas along each side of the stretcher and pin it through a staple gun at the middle of all four stretcher bars. Now tout your canvas onto the right and left side of your wooden frame, and if you feel it is nice and tight, staple it onto the side frames all the way to the corner, leaving a gap of 3 inches between each tagged pin.
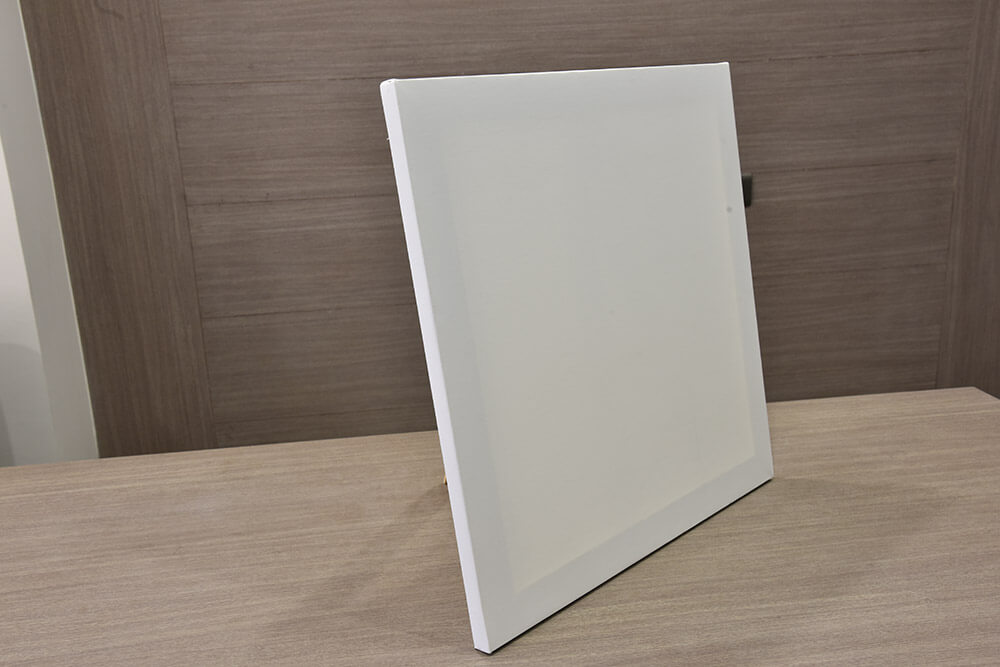
This method is ideal for achieving a smooth, professional look, especially when preparing a stretched canvas for painting or display. Proper stretching prevents wrinkles and sagging, ensuring your artwork remains flawless over time.
Step 5:
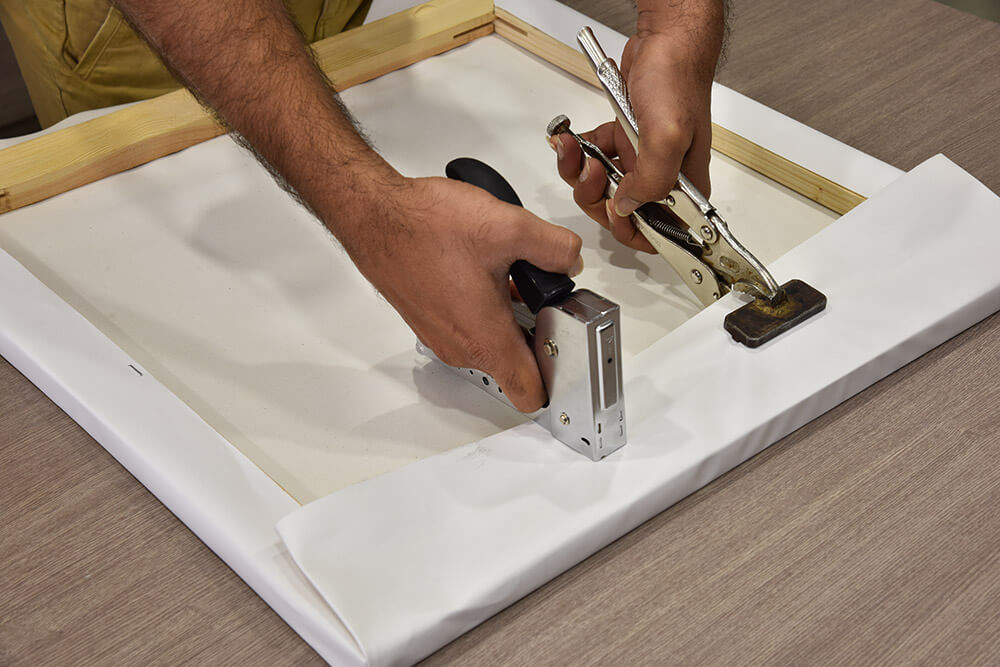
Once the side frames are done, now tout and stretch over the top and bottom stretcher bars and staple it as mentioned in step 4.
Step 6:
Now it’s time to fold each of the four corners of your canvas. Pull the canvas fabric, starting from one of the corners, make a triangle with one end, wrap it around the corner and staple it. Now triangle the other end at the same corner, wrap it and pin it. Repeat these steps along the other three corners. Use force but do not exert too much or else you can end up damaging your canvas.
Turn over canvas prints and it should give a compact, tout profile. Congratulations you have learnt how to stretch canvas on a wooden frame.