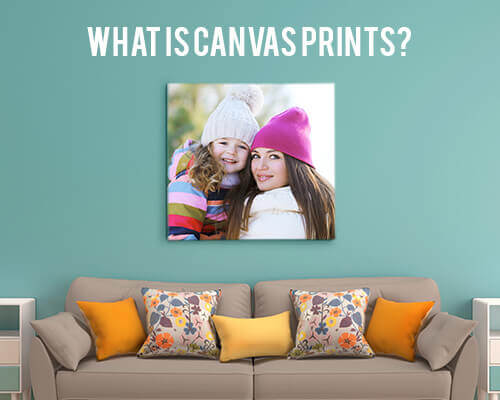
How Far Apart Should Canvas Prints Be?

Listen to Content
If you’ve been staring at a blank wall with thoughts of decorating in mind for any length of time, you’ve probably briefly wondered not just what would look good in that spot, but how much of it should go there and - dum da dum! - how far apart it should be. So, let’s talk about how to achieve a spacing in art placement that looks good all in three easy steps.
Step 1: Take A Good Look Around
First off, we’re going to assume that you’ve already got all your artwork in hand before going further. At least the main pieces, as it will be hard to space out the project if you’re not able to see them physically in the space. Now that we’ve got that out of the way, take a good look at the wall or walls you are looking to fill. You need to decide what part of the wall would work best for different canvas prints. A larger print may need a larger space on the wall, while smaller prints fill in around it. If you’re aiming to make a bold statement, large canvas paintings can be the perfect centerpiece, drawing immediate attention and adding depth to the entire room.
An unusually shaped canvas or frame makes for a great focal point (a fancy way of saying the first thing someone’s eye will be drawn to when looking at the wall), so you’ll want to place it either in the center of your wall or off to a side you want to draw attention to.
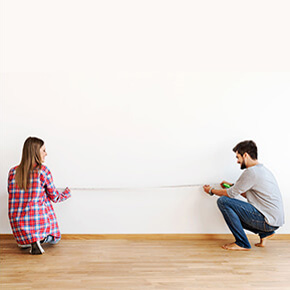
Step 2: Map It All Out...On The Floor
After you’ve figured out which canvas prints would look best on which part of the wall, we recommend mapping out where you want all of your artwork to be in relation to the other. Laying it out on the floor will help you answer how far apart the canvas prints should be. It will also allow you to arrange and rearrange until you have a design you like and that works well for you without adding lots of unnecessary holes to your wall. Start with placing prints 3” - 4” apart. If that looks like too much space, or not enough, play around with it until it looks right to your eye.
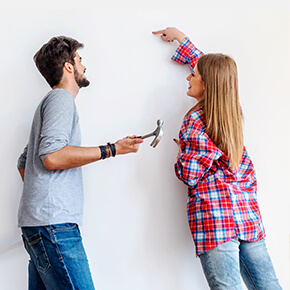
Step 3: Time To Hang
Now that you’ve got your layout determined and the spacing just right, take a picture of it so you remember exactly how it looks. Then, it’s time to hang. For hanging you’ll need all your regular tools - screwdrivers, screws, hammer, nails, etc. On top of all that you’ll want to get out a level so you can ensure every picture is hung straight. Don’t wait until you are completely finished hanging all your paintings before going back over with a level. Doing it painting by painting will help you maintain your sanity and give other paintings a visual point of reference as you go along.
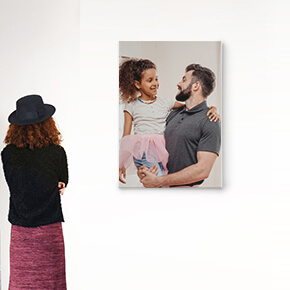
Once the last painting is hung and straightened, step back and admire your work. Don’t forget to take some pictures of it and tag us online @CanvasChamp — we’d love to see your work and possibly feature it in our Facebook group. Is your wall still missing a piece or two? Head on over to our main page and check out some of our photo gifts. We carry different mediums — canvas, wood, acrylic, metal, etc. — and can help put the final touch on your spectacular decor. Plus, if you’re decorating on a budget, explore our affordable canvas prints to bring your walls to life without breaking the bank.