Free Shipping
 Extra Savings


How to Prepare Your Photo for Canvas Printing?
Listen to Content
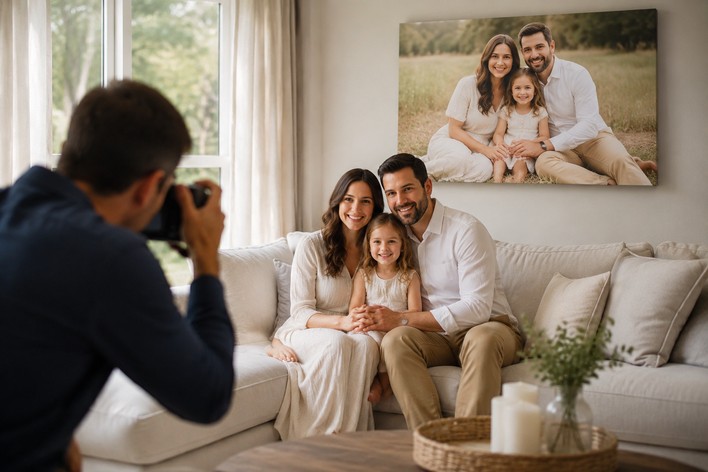
Turning your favorite picture into a canvas print sounds simple, but getting the best outcome takes a little preparation. From resolution to cropping, small adjustments can make a big difference in how your photo to canvas print looks on your wall.
If you want crisp, vibrant, and professional-looking canvas photo prints, this guide walks you through everything you need to do before uploading your image.
Why Image Preparation Matters for Canvas Prints
Canvas printing is not the same as viewing images on a screen. When you enlarge a photo into canvas wall art, every detail becomes more visible.
A poorly prepared image can look blurry, stretched, or poorly aligned. Taking a few minutes to prepare your file ensures your custom canvas prints look sharp and well-balanced.
Step 1: Choose a High-Resolution Image
The first step in preparing your photo on canvas is checking the image quality.
What to look for:
- Use original photos, not screenshots or compressed images
- Aim for at least 150–300 DPI
- Larger file sizes usually mean better quality
Why it matters:
Low-resolution images may look fine on your phone but lose clarity when printed as large canvas pictures.
If you're planning a bigger print, always start with the highest resolution available.
Step 2: Match Image Size with Canvas Dimensions
Your image dimensions should align with the size of the canvas you want.
Example:
- A small image stretched into a large canvas can appear pixelated
- A high-resolution image can be resized without losing quality
Before ordering, check the pixel dimensions and ensure they match your chosen print size.
This is especially important for large canvas print sizes used in living rooms or feature walls.
Step 3: Crop Your Image Carefully
Cropping helps improve composition and ensures your image fits perfectly on the canvas.
Tips for better cropping:
- Keep the main subject centered or balanced
- Remove unnecessary background distractions
- Maintain the correct aspect ratio
Remember, parts of your image may wrap around the edges. Keep important elements away from the borders.
Step 4: Adjust Brightness and Contrast
Images often appear slightly darker when printed on canvas due to its matte texture.
What you can do:
- Increase brightness slightly
- Adjust contrast for better depth
- Enhance colors without overdoing it
These small tweaks help your canvas photo prints look more vibrant and clear.
Step 5: Sharpen the Image (Lightly)
A bit of sharpening can improve clarity, especially for larger prints.
Keep in mind:
- Apply subtle sharpening only
- Avoid over-sharpening, as it can create noise
- Focus on enhancing edges and details
This step ensures your canvas picture prints maintain crispness after printing.
Step 6: Choose the Right Orientation
Before uploading your image, decide how it will be displayed.
- Vertical format works well for portraits
- Horizontal format suits landscapes
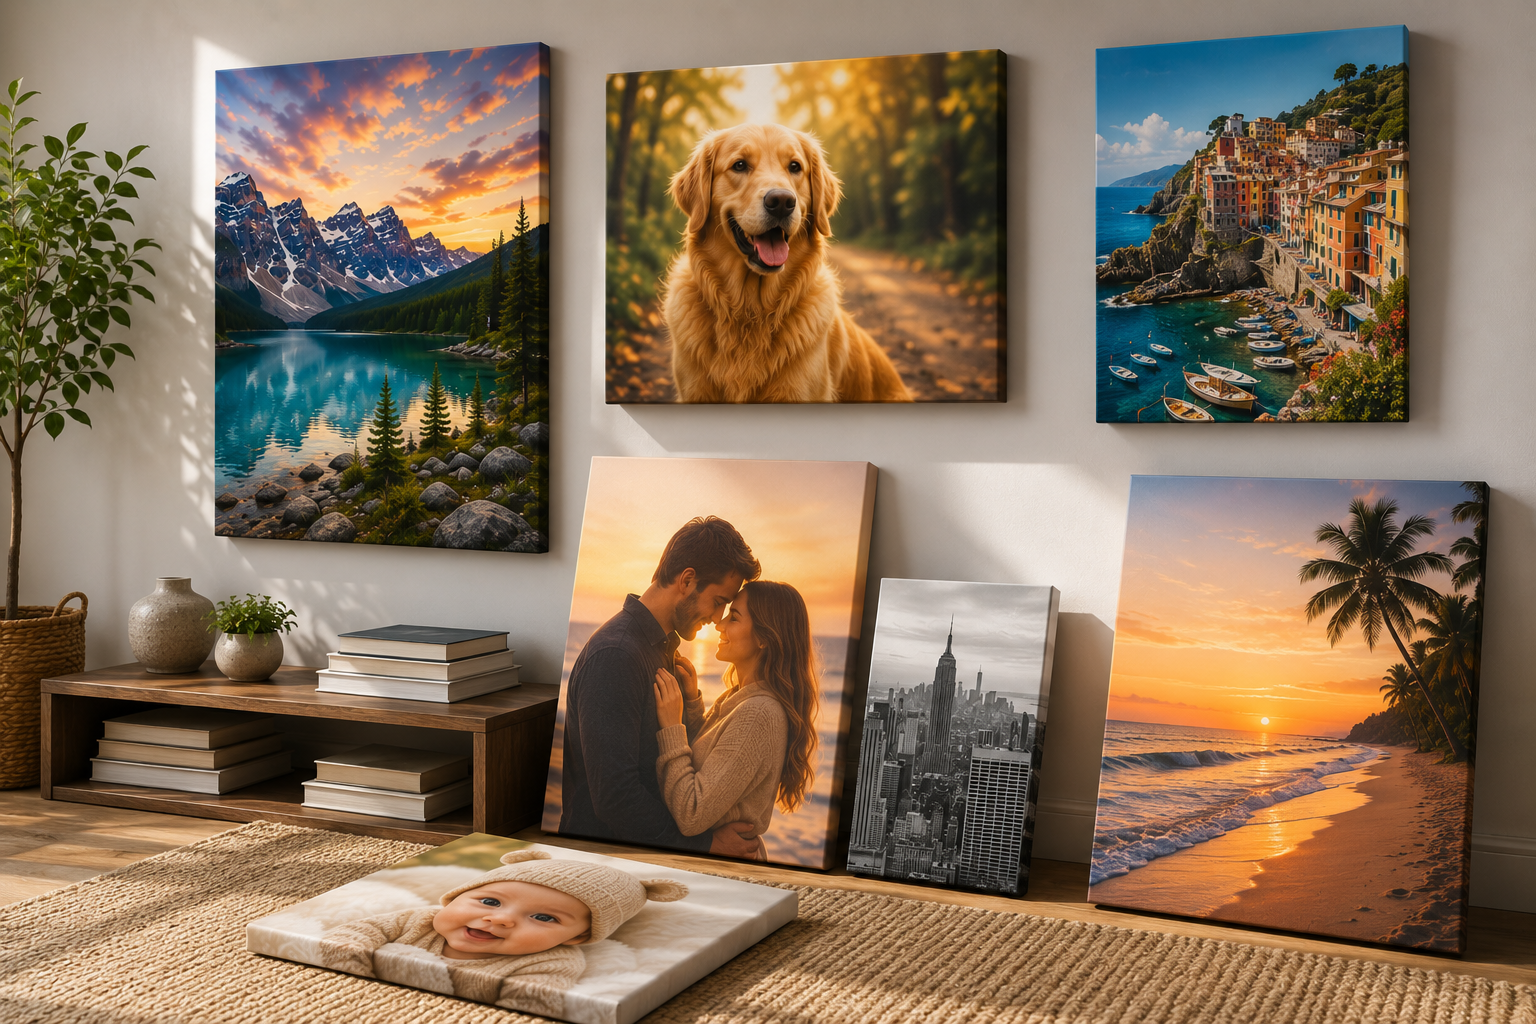
- Square format fits modern gallery walls
Matching the orientation with your wall space improves the final look of your canvas wall decor.
Step 7: Check Edge Space for Wrapping
Canvas prints wrap around a wooden frame, so edge preparation is important.
What to consider:
- Leave extra space around the edges
- Avoid placing faces or text too close to borders
- Choose a suitable wrap style (gallery, mirror, or color)
This prevents important details from being lost during the wrapping process.
Step 8: Avoid Low-Quality Sources
Not all images are suitable for canvas printing.
Avoid using:
- Social media downloads
- WhatsApp or compressed images
- Screenshots
- Heavily filtered photos
These often lose detail and may not produce high-quality canvas prints.
Step 9: Use Proper File Formats
The file format also affects print quality.
Recommended formats:
- JPEG (high quality)
- PNG (for detailed images)
Make sure your file is saved in the highest quality setting before uploading.
Step 10: Preview Before You Print
Most platforms allow you to preview your custom canvas prints before placing an order.
What to check in preview:
- Image alignment
- Cropping and edges
- Overall sharpness
Take a moment to review everything. This step helps avoid surprises after delivery.
Common Mistakes to Avoid
Even good photos can turn out poorly if not prepared correctly.
Watch out for:
- Uploading low-resolution images
- Ignoring edge wrapping
- Over-editing colors or sharpness
- Choosing the wrong canvas size
Avoiding these mistakes ensures your photo to canvas prints look professional and polished.
Need Help Creating the Perfect Canvas Print?
Preparing your image is just one part of the process. Choosing the right size, layout, and style also plays a big role.
For a complete step-by-step guide, check out our canvas print buying guide. It covers everything from selecting the right canvas prints to designing wall art that fits your space perfectly.
Final Thoughts
Creating stunning canvas photo prints starts with proper image preparation. A high-resolution file, balanced composition, and small adjustments can turn an ordinary photo into eye-catching wall art.
Take the time to refine your image before printing. The result will be a canvas print that looks sharp, vibrant, and worth displaying every day.