DIY : Crafting Your Own Canvas Print
Listen to Content
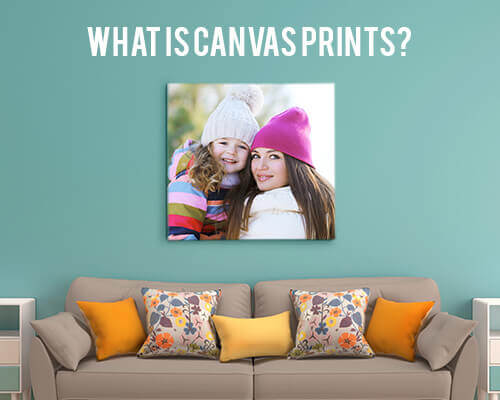
Canvas prints hold a lot of aesthetic value. Its textured surface can provide a deep effect to any picture. From wall décor to desktop banners, it spreads an aura of elegance combined with sophistication. Custom Canvas Prints are often used as gifts, one that suits everyone’s budget and for any occasion. So easy to make, it can pull out creativity from any individual.
All you would need to make your own canvas is:
- 1 340gsm matte/glossy finish canvas sheet
- 4 wooden sticks of the selected size of frame
- 1 cardboard of the size of picture for support
- Heavy glue
- About 8-10 L-shaped pins
- 1 hammer
- Approximately 10 nails
Staplegun
- Pair of scissors
Follow these simple steps to create your own magical canvas prints:
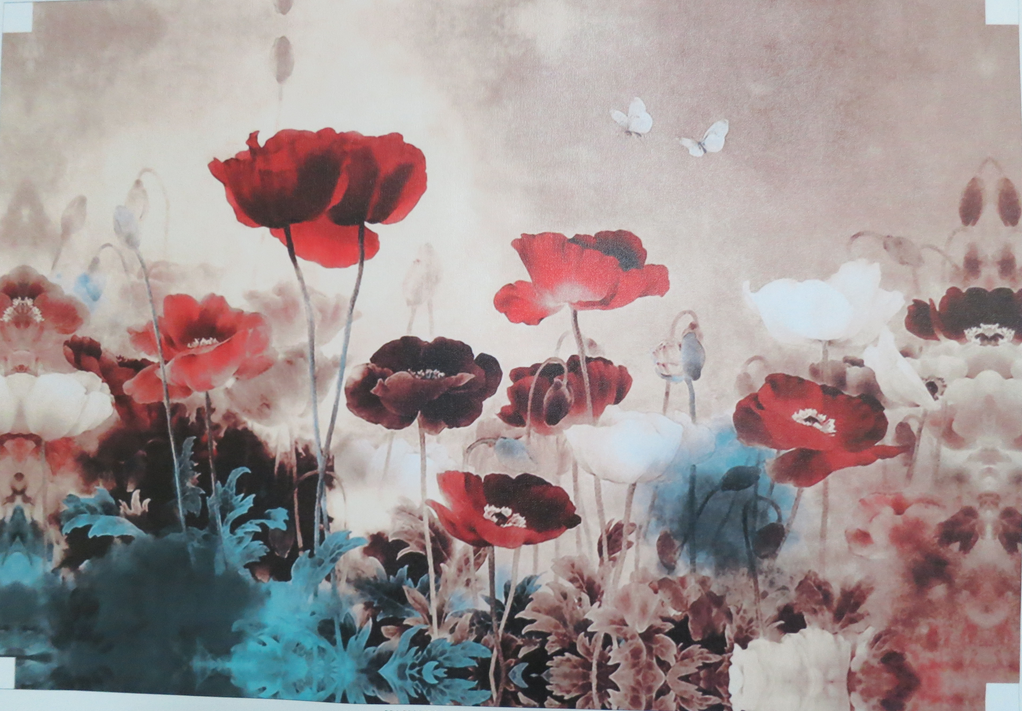
- Picture selection: Select and print a picture of your choice and size making sure it has enough resolution so that it does not pixelate at that size. One can also choose to have a personalized photograph instead of a painting. The 4 white corners here indicate the paper fold mark. It is optional to keep the corners empty.
Make your own wooden frame: Cut the wooden sticks in such a way that the edges are cut at 45 degrees. For the selected size of the picture, cut a cardboard that will ensure the picture will not dislocate.
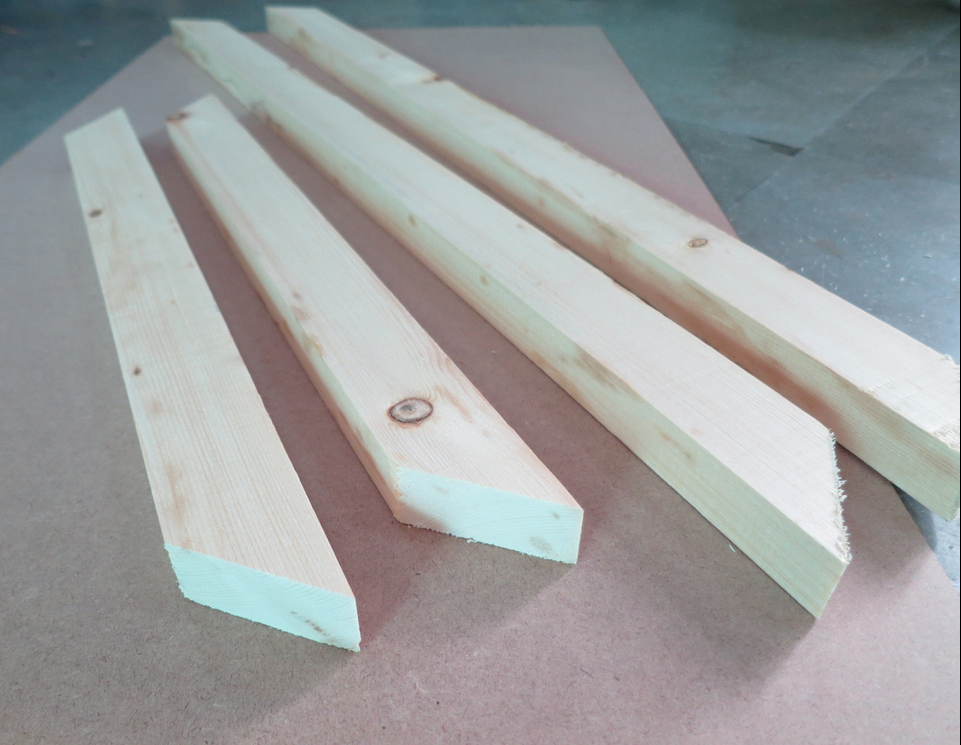
Fig: Wooden sticks for the frame and cardboard for support
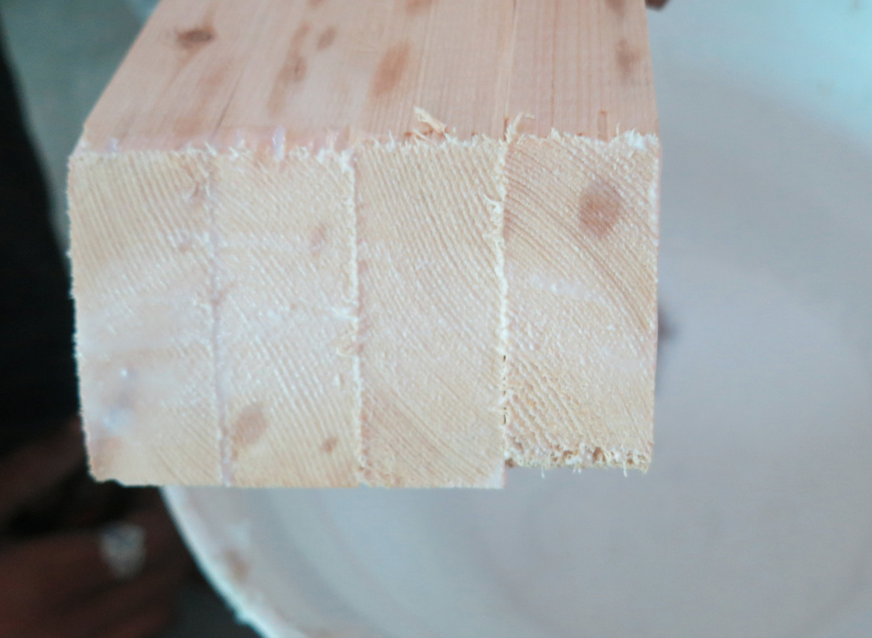
Fig: Apply glue on the slant edges
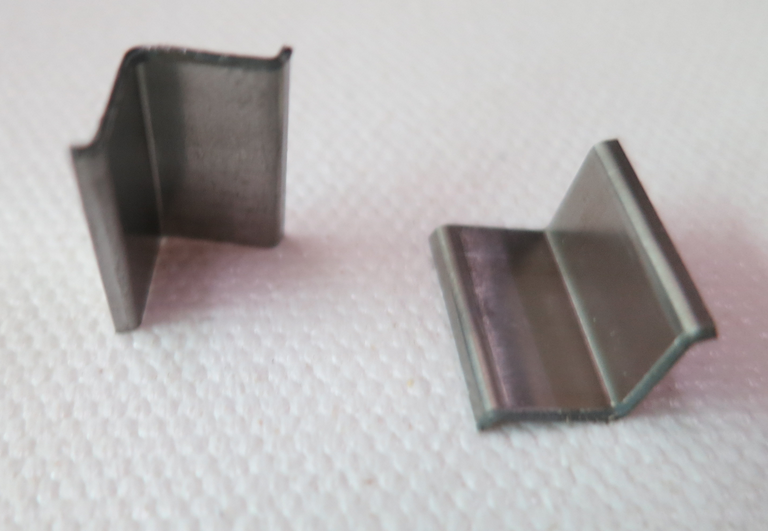
Fig: L-shaped pins for wooden frame (available at Lowes)
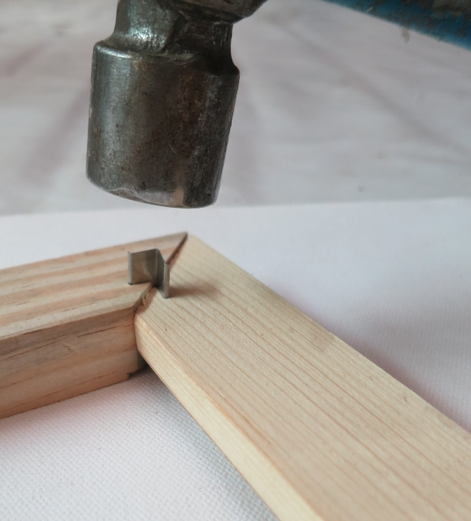
Fig: Join the wooden sticks mirroring each other on all the 4 sides. Tuck in a L-shaped pin using a hammer for support.
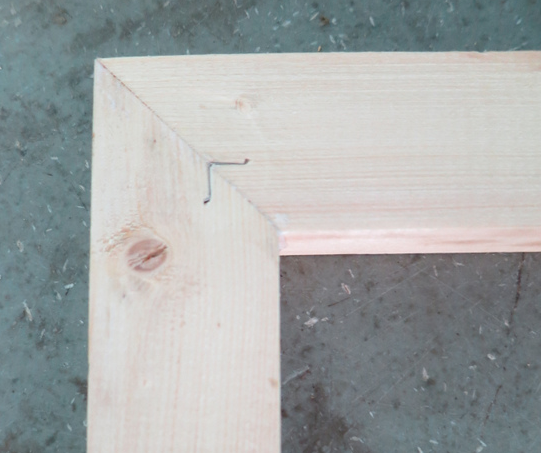
Fig: One finished corner of the frame
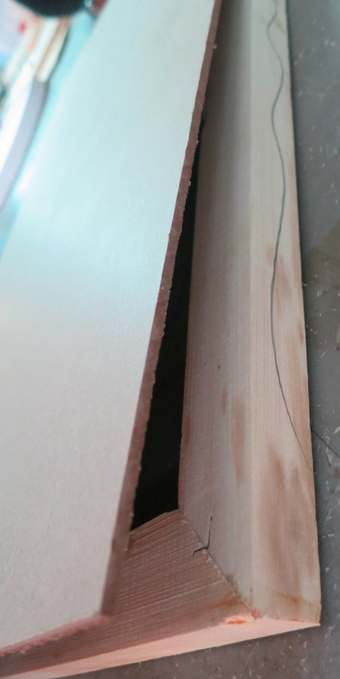
Fig: Place the cardboard on the frame and insert nails using hammer ensuringthe picture would not dislocate
Attaching picture to the frame: Now that we have the picture and frame structure ready lets put the two together. Place the canvas upside down on a flat surface. Insert a small pin on the white corner tip and put a small mark at the back as shown. Note this is where your white corners would help to fold the canvas.
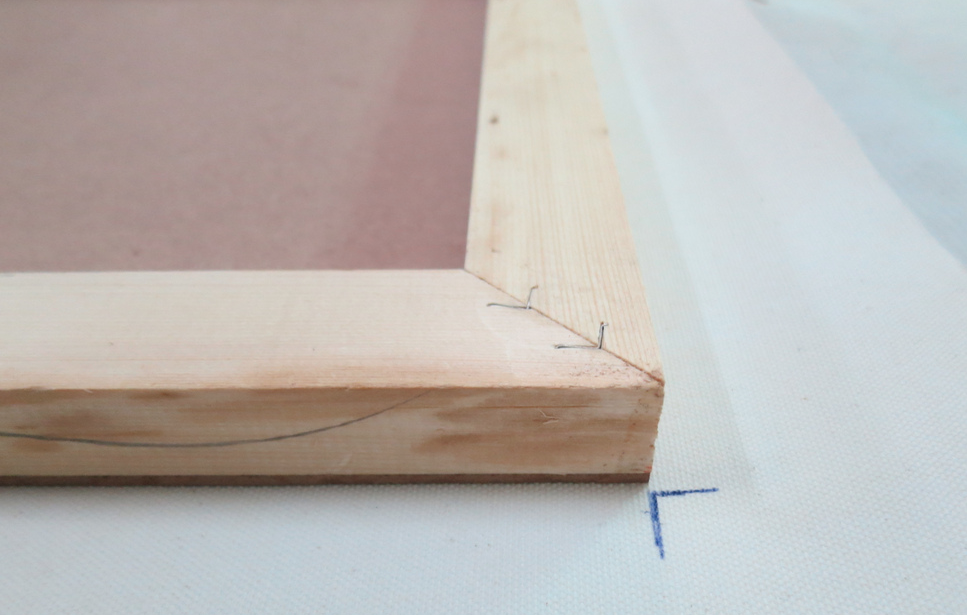
Fig: Mark on the backside of canvas
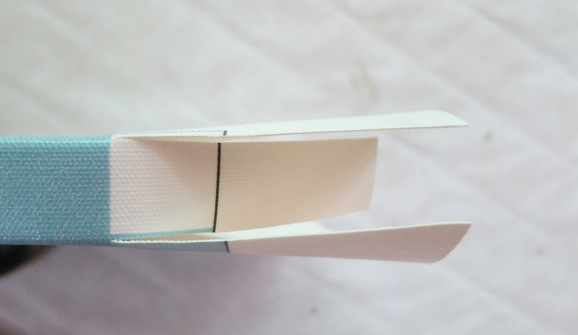
Fig: Cut on the white corner which eventually gets folded
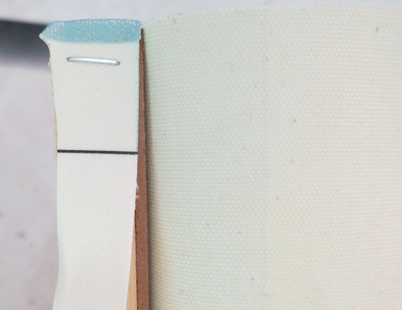
Fig: Fold at the corner. Remove extra paper whereverneeded for a cleaner look.
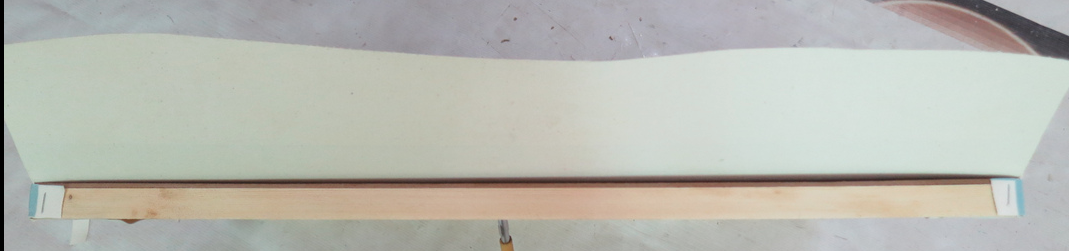
Fig: Using a staple gun attach the canvas to the wooden frame at the back.
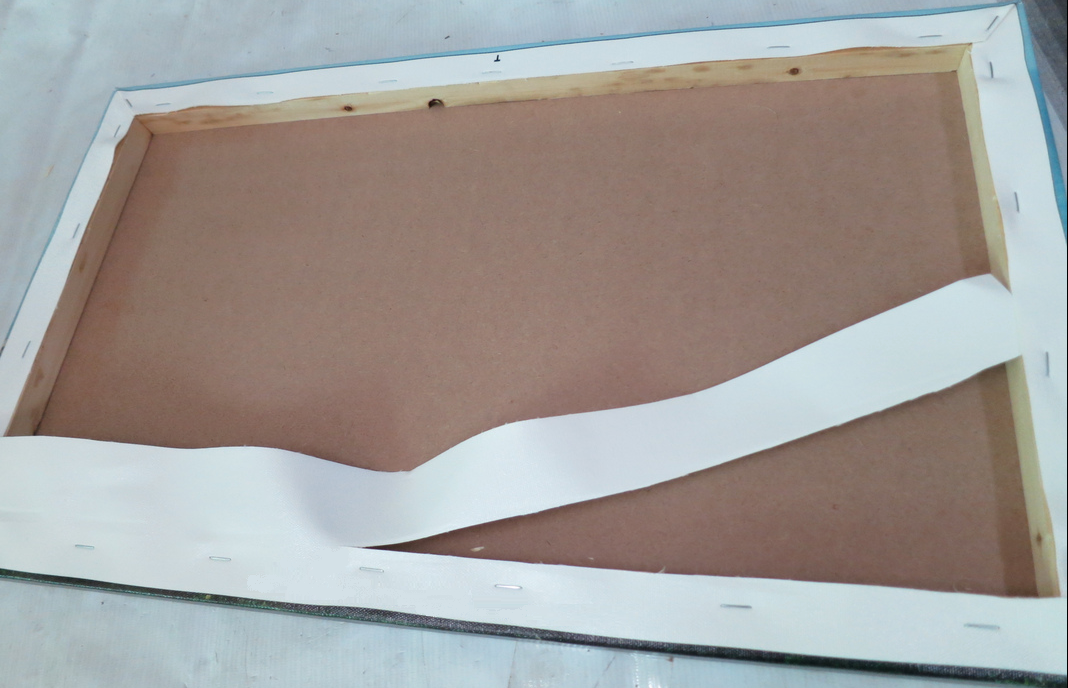
Fig: Finished look at the back. Remove extra sheet of canvas wherever necessary as shown.
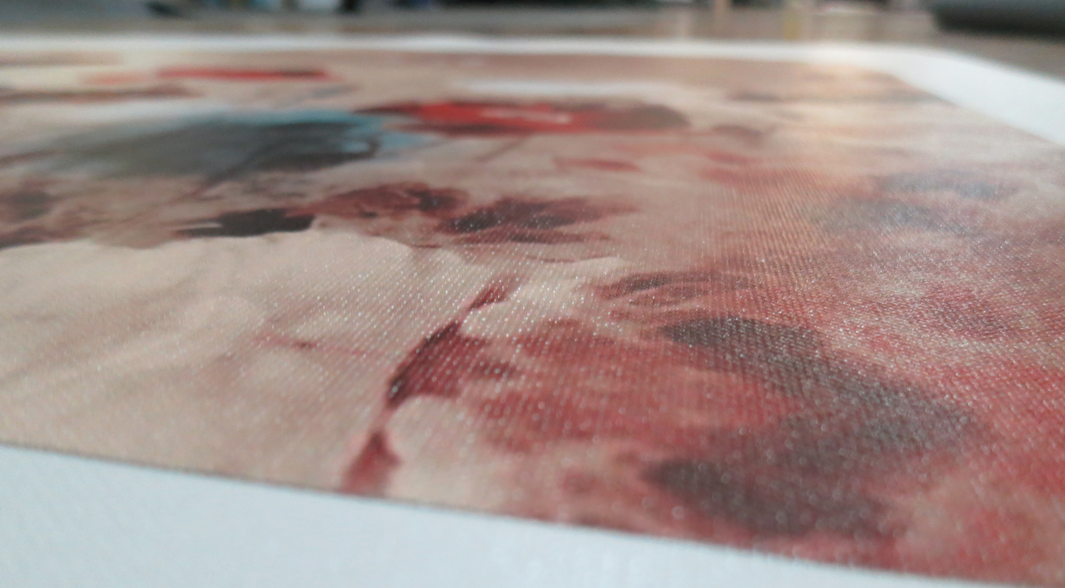
Fig: Finished canvas
A beautifully textured canvas frame is ready to use. Happy Crafting!