How Do You Print Photos on Wood?
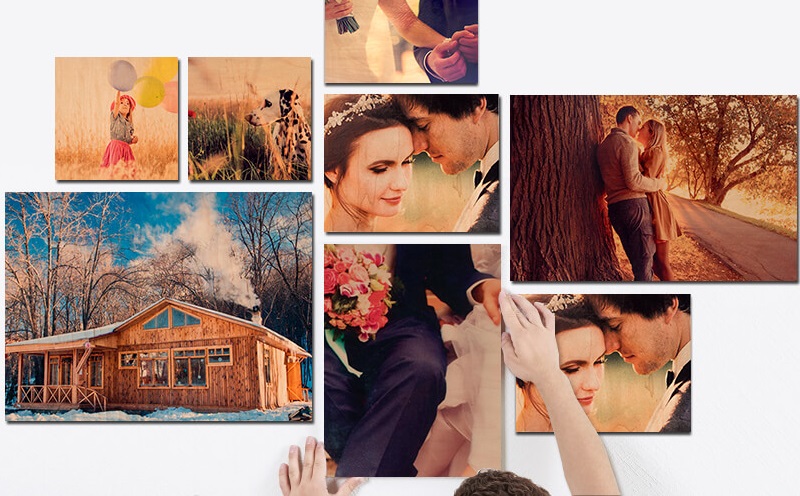
A uniquely creative way to display your photos is to print them directly on wood. You can use either reclaimed wood from an old house (as long as the piece is smooth) or a fresh square of new wood from your local home improvement or hobby store. The lighter the wood color, the better the result. Contrast is king!
There are countless online DIY guides explaining how to print photos on wood – and some of them even contradict each other. Should you print your photos on an inkjet or laser printer? Photocopy only? Wax paper? How does that even work? Well, we’ve done some investigative legwork for you and here’s what we’ve uncovered.
(For all of these processes what you’re doing is essentially printmaking – the printed image must be reversed so it will appear normal once it’s applied to the wood.)
Photocopy Transfer
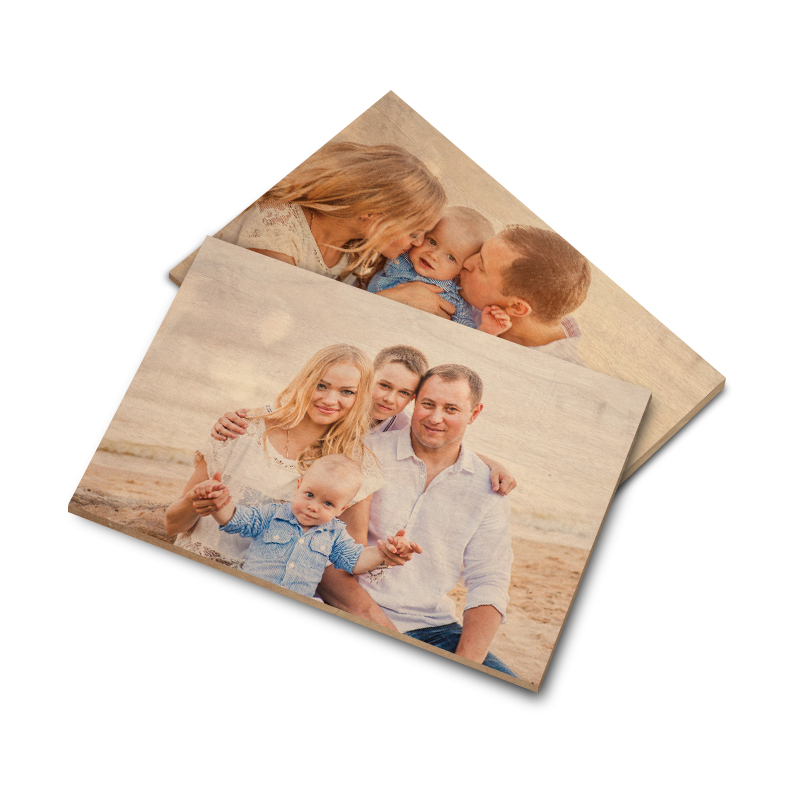
Use a photocopied image in color or b&w on regular copy paper. Apply a thick layer of decoupage glue to the front of the image, slathering it on really thick. Press the paper image side down onto the wood. Rub hard with a straight edge (a ruler or credit card will work) to get out any air bubbles. Let it dry completely. Dab a wet sponge on small sections of the paper at a time, rubbing gently to remove the paper. This may take time as you want to remove small layers of paper at a time until the image shows through. Once satisfied with the image, seal the photo to the wood with clear finishing spray.
Laser Printer Ink Transfer
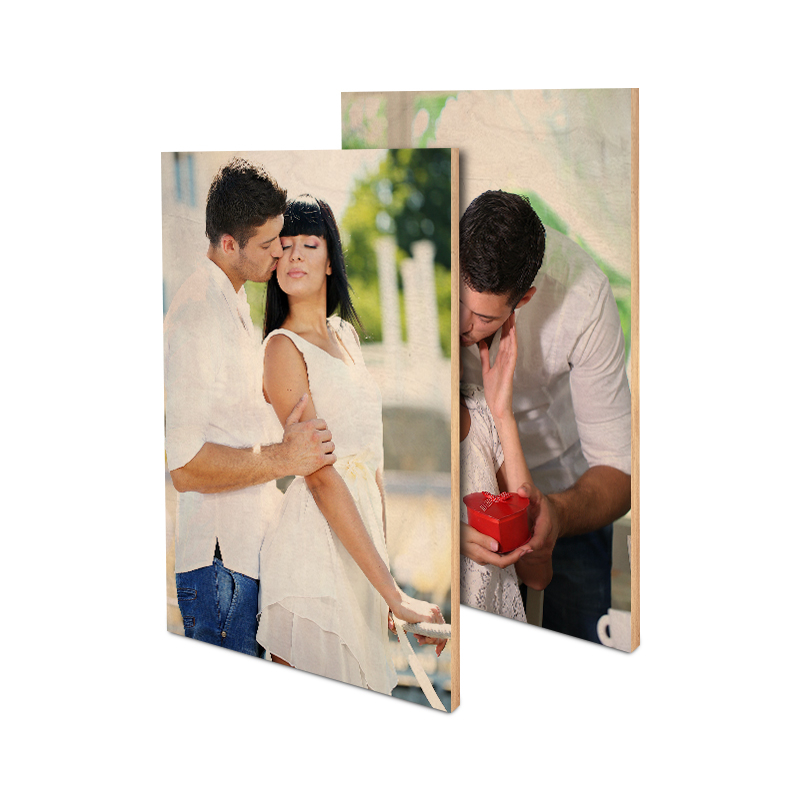
The image must be printed on a laser ink printer that uses dry toner – an inkjet (liquid ink) printed image will not work for this process. Apply a single layer of acrylic gel medium to the entire surface of the wood, then place the print face down on the wood. Smooth out any air bubbles. Let the print sit for 12 hours. Wet the paper with a damp sponge, and gently rub the paper away with your fingers until the image appears. Once the paper is totally off, you can apply a stain to give the image a vintage look. Finally brush on some soft wax to seal the print, and then buff with a soft cloth.
Inkjet on Wax Paper Transfer
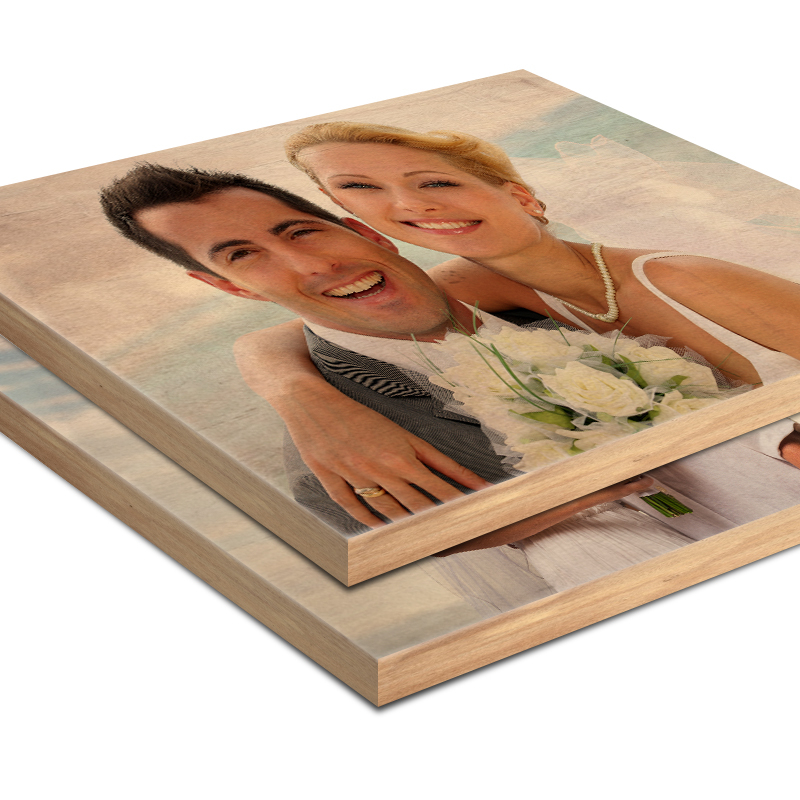
Print your image reversed (mirrored in the photo program on your computer) on wax paper cut to size so you can feed it into your inkjet printer. Be careful that the paper doesn’t jam. (You know the only good jam is the one your grandma made!) Place the wax paper image side down onto the wood, holding it very steady so it doesn’t move, and rub the image with a straight edge (again, a ruler or credit card) until the image is transferred to the wood. Seal the image with a clear finishing spray or wood sealer.
Gluing A Photo to Wood (not exactly printing ON wood, but…)
Apply a wood sealant to unfinished wood, cover it with tacky glue using a foam brush. (Spray adhesive also works, if you don’t mind the noxious fumes.) Press the paper image to the wood and let it dry, smoothing out any air bubbles. Sand the edges with fine-grit sandpaper for a clean finish.
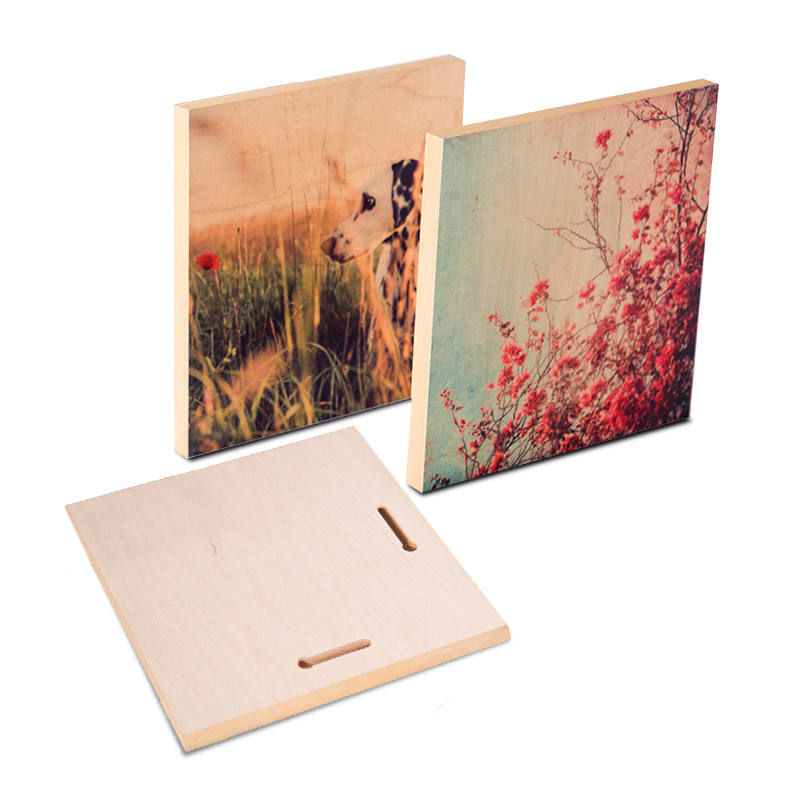
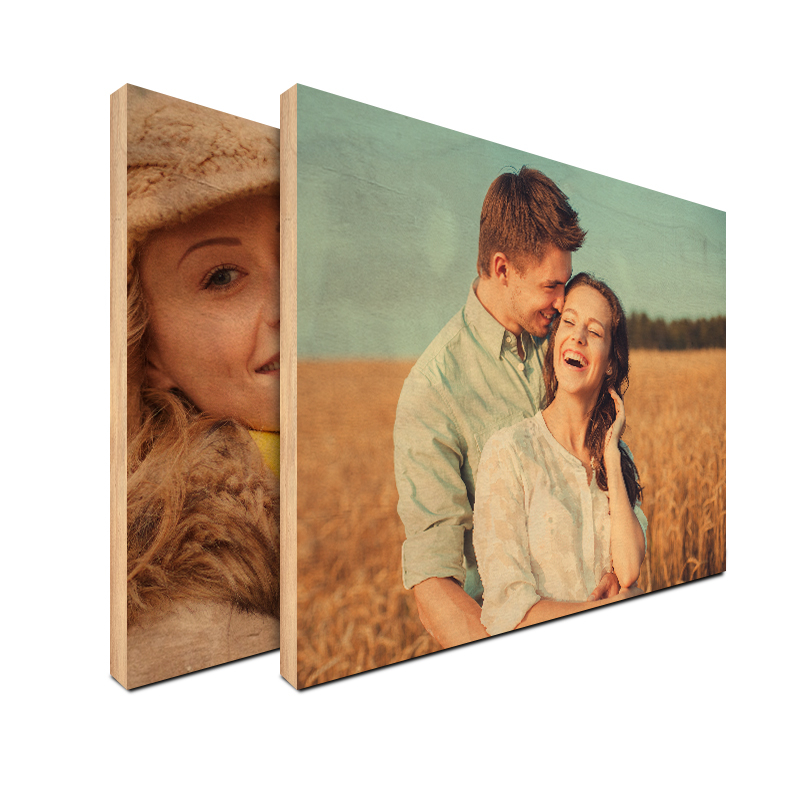
These are all cute and crafty ideas, and each works well in its own way. But if you’re not into crafting, or you just don’t have the time and all the necessary supplies, CanvasChamp is your go-to source for professional, flawless wood prints. We have the know-how, the high-end equipment, and the experienced graphics and production people to do the job. This is what we do, and we love doing it. Our online design tool makes it easy to upload photos (including those on your social media accounts!), and we offer multiple sizes of responsibly sourced wood, all at very affordable prices.

